The MC-100 chlorophyll concentration meter uses two LEDs and a detector to measure the transmission of light at two different wavelengths through a leaf sample. The sample chamber on the meter is enclosed by two foam gaskets that surround the leaf to prevent external light from reaching the detector. These gaskets wear out over time, which can allow external light to leak into the sample chamber and interfere with the chlorophyll measurement.
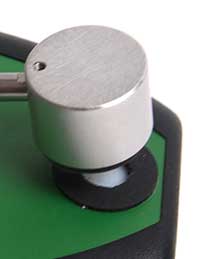
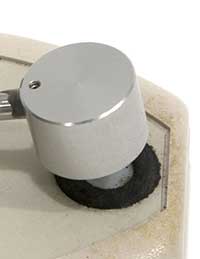
The image below shows new foam gaskets on an Apogee MC-100 (left), and very worn gaskets on an older model CCM-200 (right).
If your gaskets need replacement, additional gaskets can be purchased in pairs from Apogee. With replacement gaskets in hand, we hope the following replacement instructions and tips will be useful for you.
Step 1
Remove any loose debris from the meter (with a brush or cotton swab) to prevent it from getting inside the housing.
Step 2
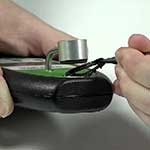
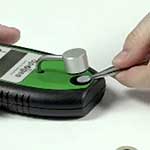
Remove the lower gasket. Tweezers work well for this task.
The gaskets are held to the meter with an adhesive backing layer, which can separate from the washer during removal. The adhesive backing layer needs to be completely removed prior to cleaning off excess glue.
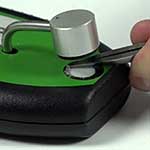
Caution 1: If you are using a sharp instrument, be careful not to scratch the gasket surface.
Caution 2: The diffuser is held in place by the gasket, be careful not to lose the diffuser or let debris inside the meter housing while the diffuser is removed.
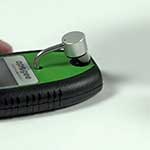
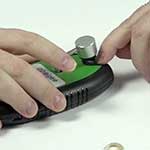
Clean the housing and diffuser to remove leftover glue. Rubbing alcohol (isopropyl alcohol) and some cotton swabs (Q-Tips) work well for this, but it is not as easy as it may seem.
Make sure the diffuser is seated properly before continuing.
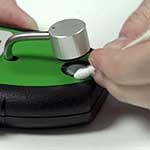
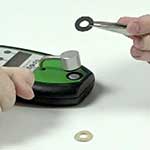
Put on the new gasket. Peel off the backing of the gasket to reveal the adhesive. Since the area under the sample arm is small it is helpful to stick the gasket to your tweezers to help orient the gasket before sticking it to the meter.
The gasket should seat in the recessed area completely and make require some gentle pressing with your fingertip or a dull instrument (to not damage the gasket) to completely seat the gasket.
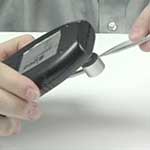
Replace the top gasket, repeating steps 2, 3 and 4, using caution not to bend or twist the arm on the meter.
When repeating step 4 there is not a recessed area to seat the gasket into. Carefully center the gasket on the head, and once it is installed, the gaskets should match up within 0.5 mm or so (they may not be exact).